HDR Photography: Dog Photography Project 52: Week 12

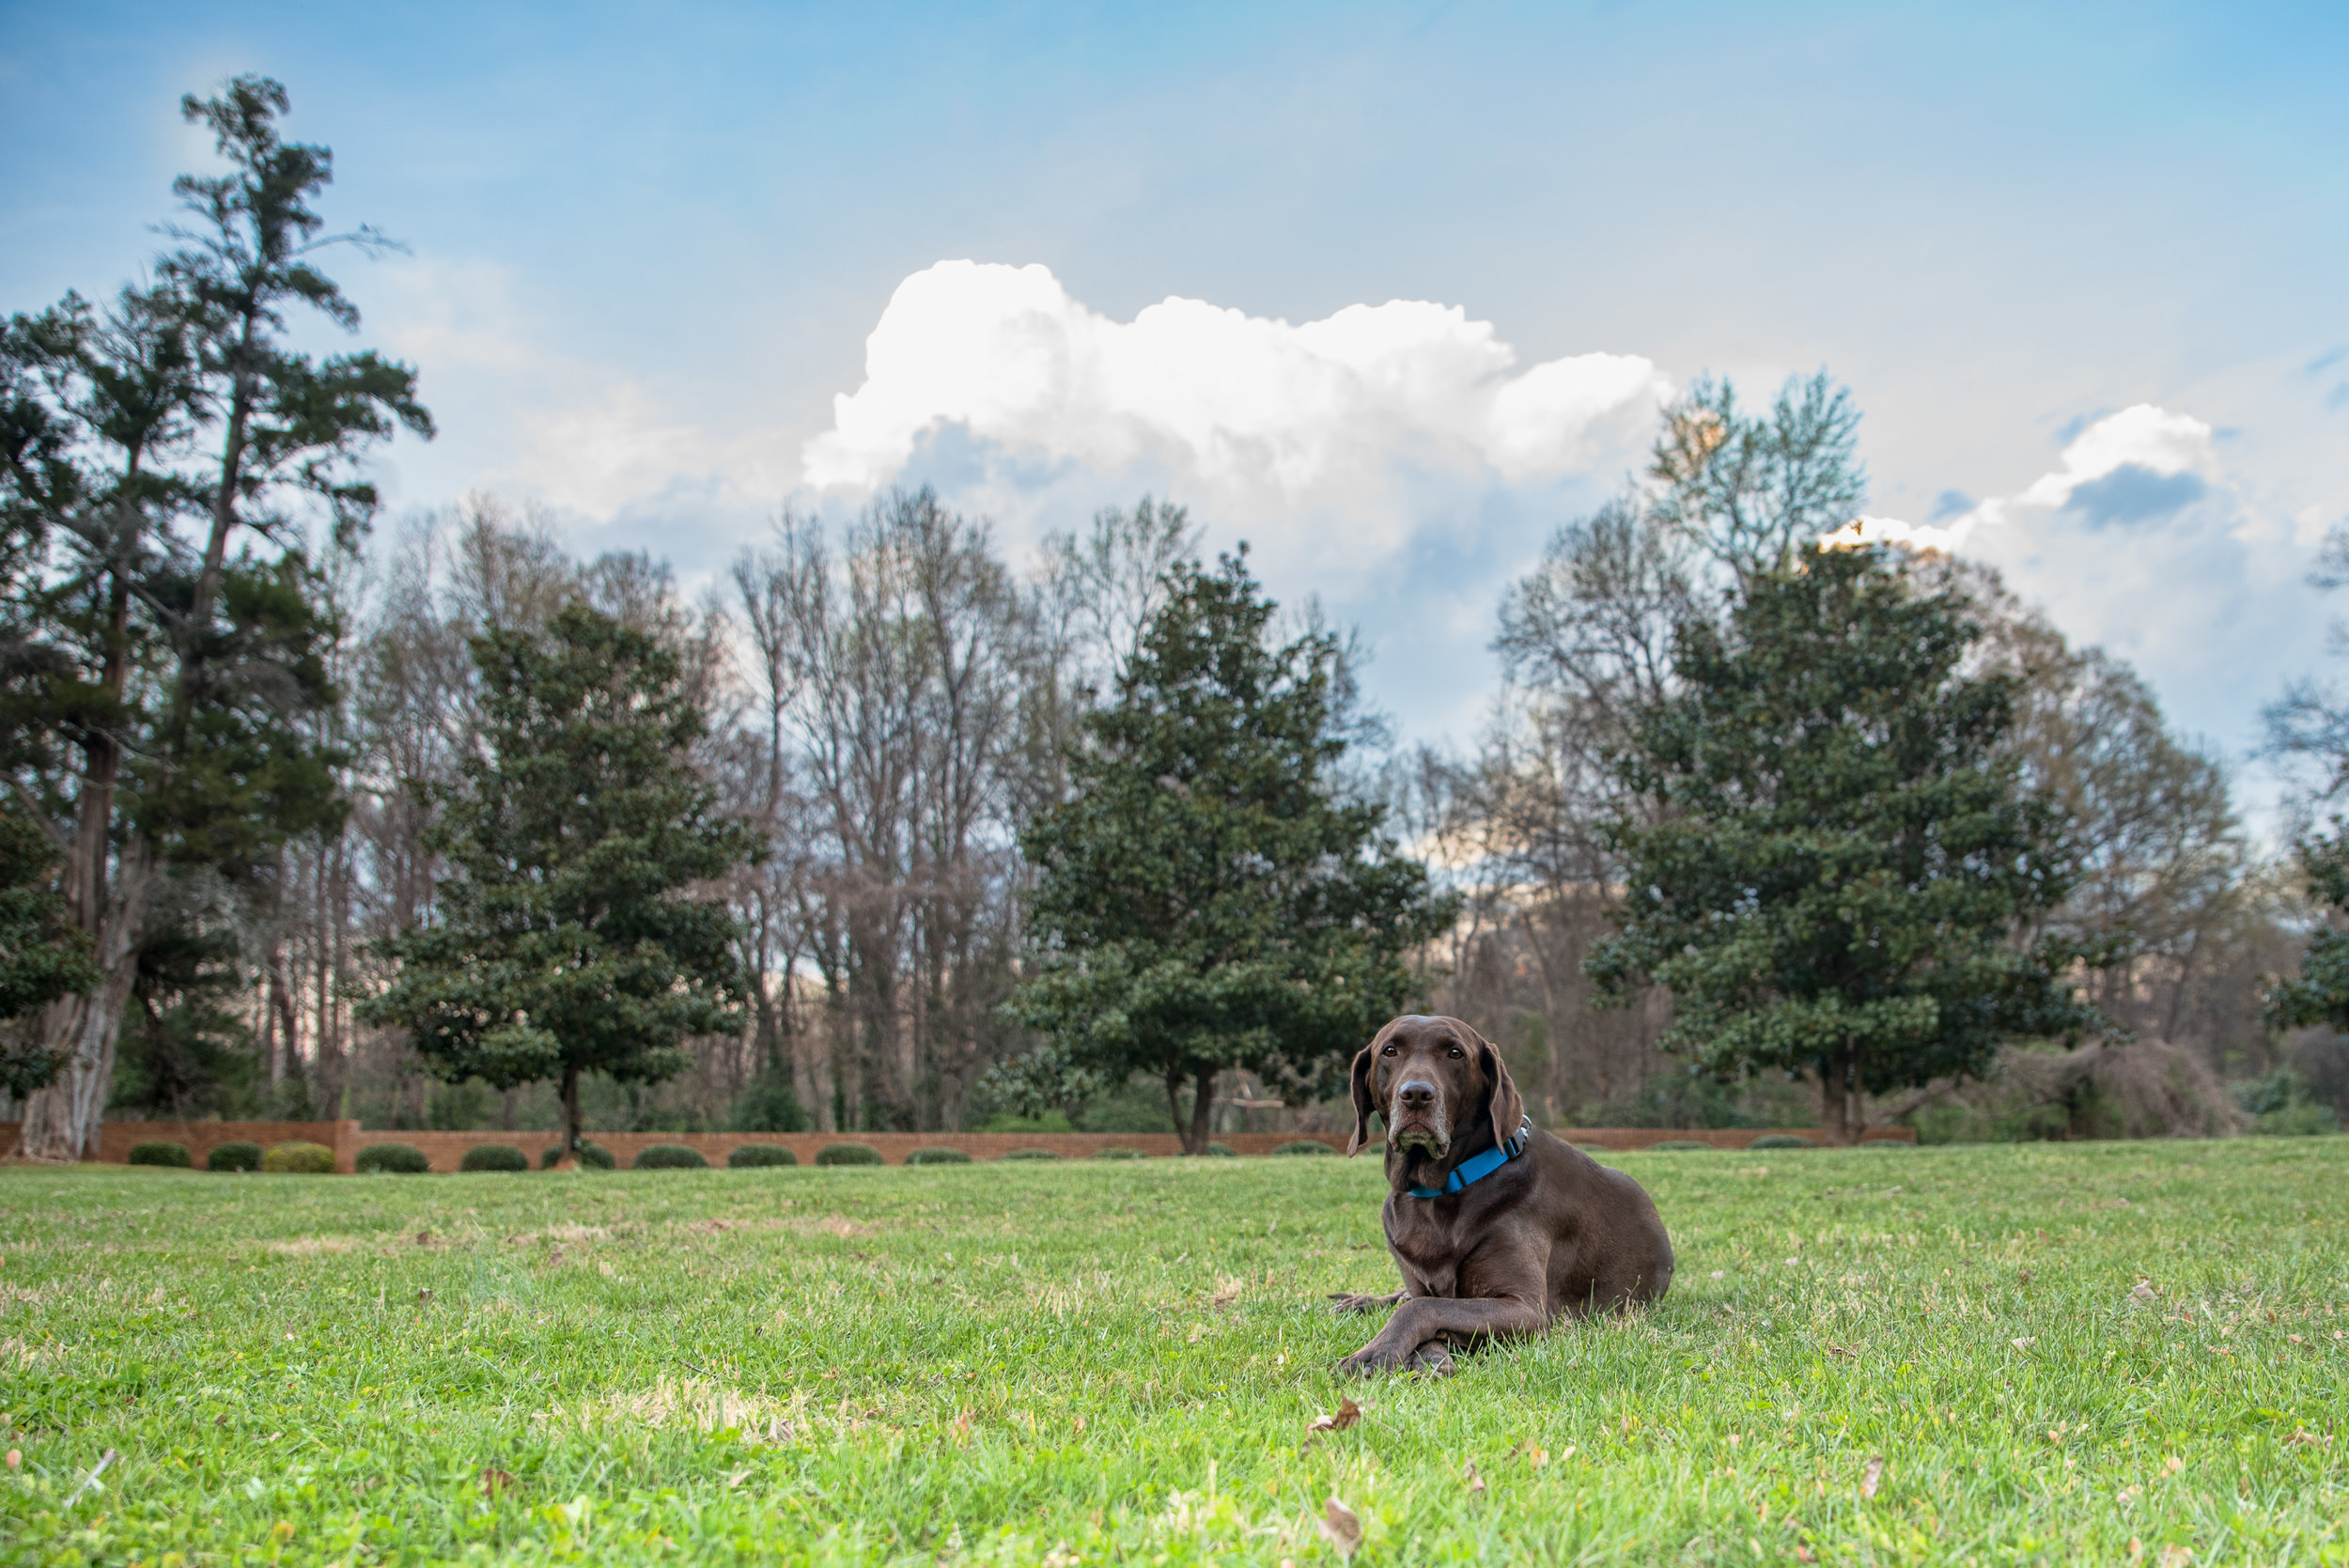
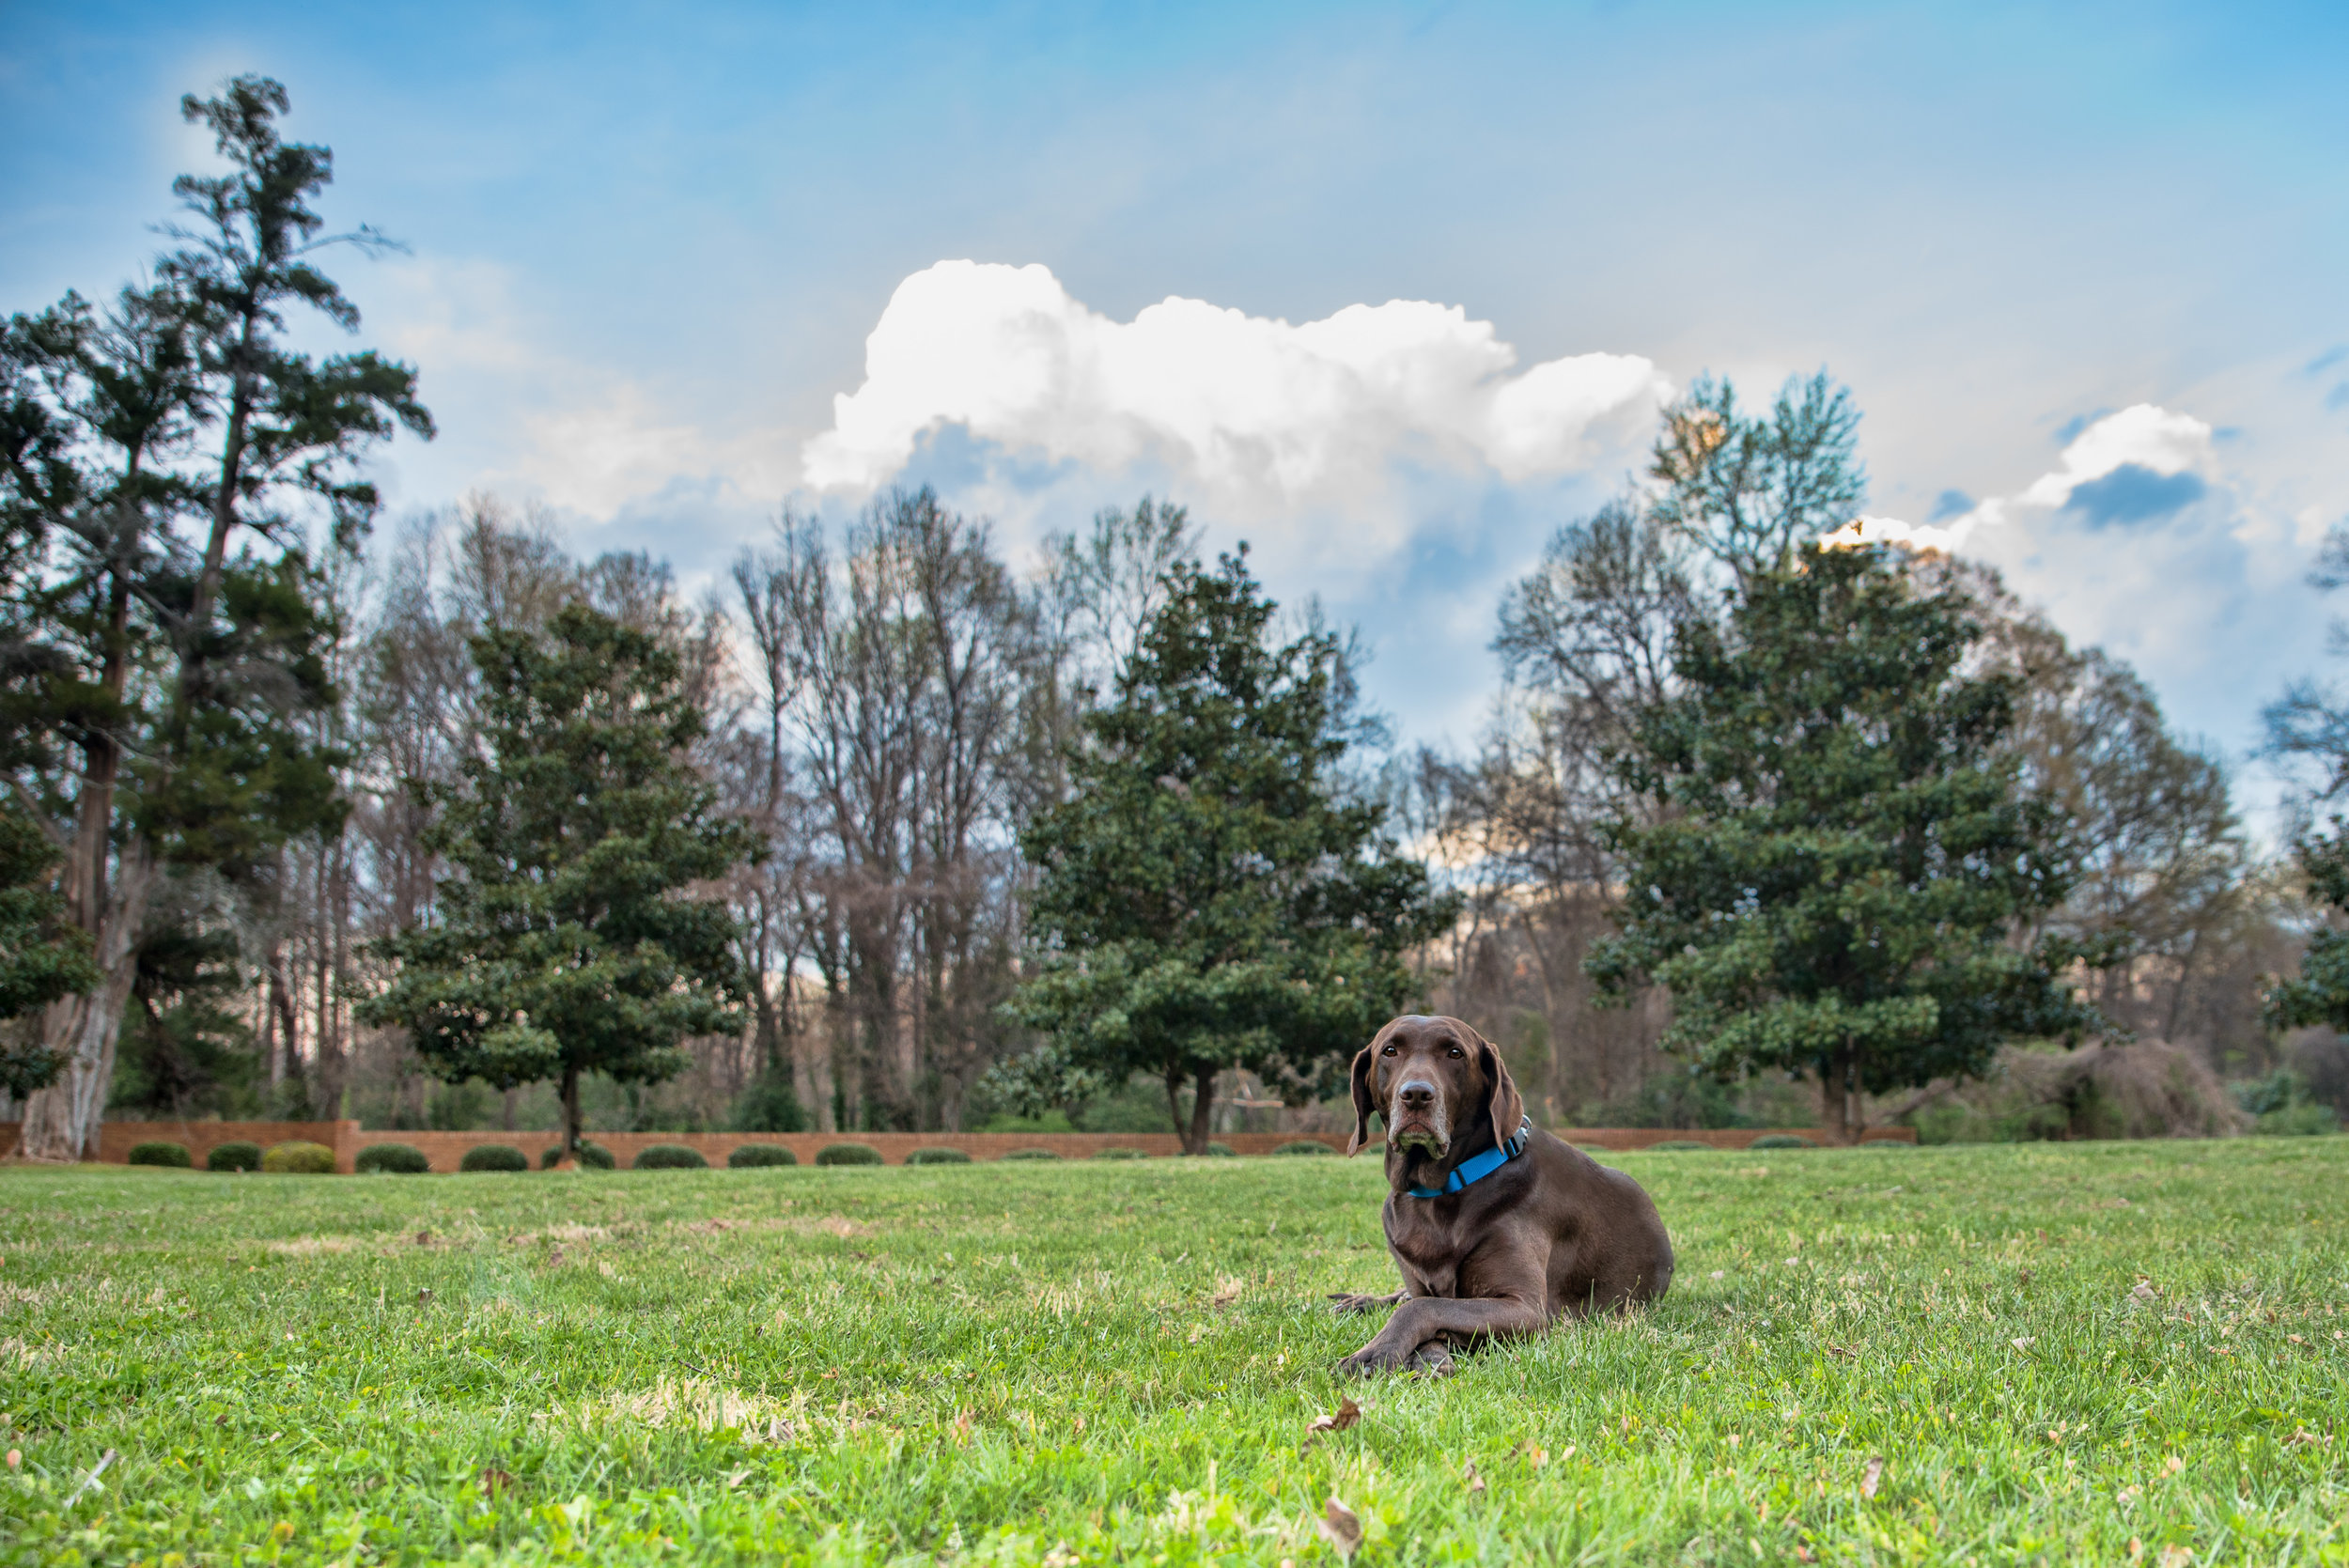
Our topic this week is HDR Photography but this photo is not HDR. This looks more along the lines of how I would typically edit this photo. Keep reading to view this photo with three different HDR effects. Moose looks a little bored but I do like his crossed paws. :)
HDR Photography stands for High Dynamic Range Photography. Dynamic range in photography is the difference between the darkest and the lightest areas in a photo. HDR is a technique used in photography to create vivid, vibrant many times colorful images because it increases the dynamic range. I think the images look "punchy." It is a style that some people love and some people hate. It's really not my style but at times I do like it.
The above photo is one I took specifically for this exercise. I was trying to get a photo with some billowy clouds in the background that might provide better content for HDR. I don't love this image. Moose looks totally bored and he was. He eventually rolled on his back to entertain himself.
To make a very long story short, I didn't have much success this week trying to create HDR photos. I was really excited to try so it was a bit of a downer that I struggled so much.
Most of what I read said to create "true" HDR images, you need to create separate bracketed images and combine them. The bracketed images have different exposures so when you combine them you are using the darkest darks from one image and the lightest lights from another and creating one photo. Everything I read said to use a tripod (I wasn't.)
Ideally you don't want anything in your photo to move when you're doing HDR Photography but remember this is HDR in the "Dog Photography 52 Week Project" so that means my photos need a dog. Ugh.
Herein lies problem #1: my dog wanted to move. The next problem: Everything I read said to shoot in Aperture Priority. I shoot in Manual so switching to Aperture Priority was a challenge. I'm a creature of habit and trying to remember how to shoot in Aperture Priority was hard.
Tuesday night a storm was rolling in so I grabbed Moose and we went outside. I thought the dramatic skies might help in my efforts and they did. I had my camera set to bracket 5 photos. I couldn't figure out how to get the last photo with the brightest exposure correct. All the highlights were totally blown out and I was taking photos of clouds so that was a problem. I finally remembered how to adjust the exposure compensation in Aperture Priority but they were still blown out.
My subject was getting impatient and started finding every stick he could chew on because he knew he'd get my attention that way. Moose is a pretty smart guy, right?
So after a lot of time researching how to do this and then attempting to get shots to use, I chose to use one photo and use editing software. According to a few things I read, the way I did it technically isn't HDR photography but it was my best effort for the week. It was certainly easier.
I like to find the positives in situations so here are mine from this week: Moose was actually a very good model. I didn't have an assistant and we were in an un-fenced area right across the street from my house. I edited his leash out but it was attached to him. He didn't try to bolt off so that was definitely a win.

I spent way more time on trying to figure this out than I had time for this week. I still don't get it and I had really high hopes for doing this. Oh well. Now I need to figure out how to return my camera to all of my normal settings... how in the heck do I turn off bracketing?
Next up is I Got The Shot Pet Photography, Northeastern PA and surrounding areas. I hope she had better luck than me with HDR Photography!